Step 3: Setup PostgreSQL#
Download PostgreSQL#
Download the PostgreSQL Database installer:
Resource
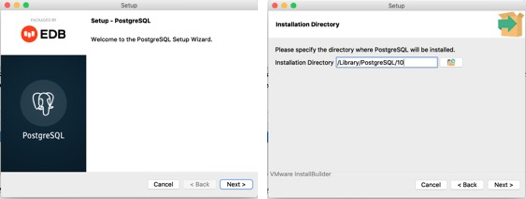
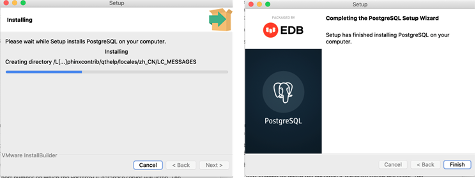
Double-click on the installer file, an installation wizard will appear and guide you through multiple steps where you can choose different options that you would like to have in PostgreSQL. Note, that you can download the recent version 15 of PostGres instead of 10.
Click the Next button:
Select software components to install:
The PostgreSQL Server to install the PostgreSQL database server.
pgAdmin to install the PostgreSQL database GUI.
Command Line Tools to install command-line tools such as psql, pg_restore, etc. These tools allow you to interact with the PostgreSQL database server using the command-line interface.
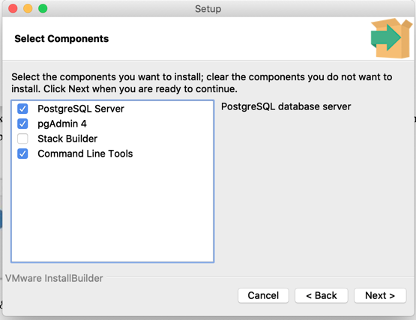
Attention
You do not need to download Stack Builder.
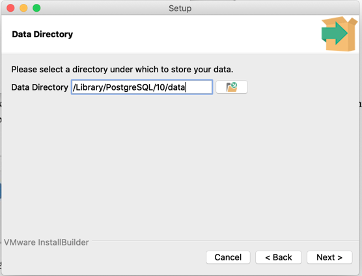
Select the database directory to store the data or accept the default folder. Click the Next button to go to the next step:
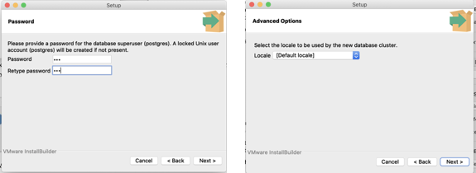
Enter a password for the database superuser postgres.
Enter a port number on which the PostgreSQL database server will listen. The default port is 5432.
Important
Make sure you remember/write down this password. You will need it again to create a connection to your database.
Then, continue to the end of installation.
Once the installation finishes, you can test it’s been installed successfully by finding pgAdmin in your Applications
folder and launching it.
When you open PostgreSQL for the first time, you’ll be asked to input your superuser password.
When you finish your project and deploy it to Render, you do not need the local DB server. You are going to need to connect your application to the postgres server on Render. These steps will come later.
Create a Database#
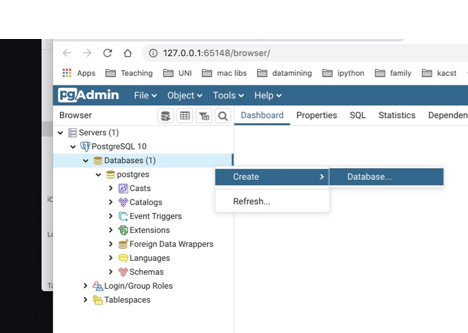
The pgAdmin application allows you to interact with the PostgreSQL database server using a GUI.
Launch pgAdmin, which will open in a web browser.
Right-click on Databases => Create => Database:
Enter a name for the database:
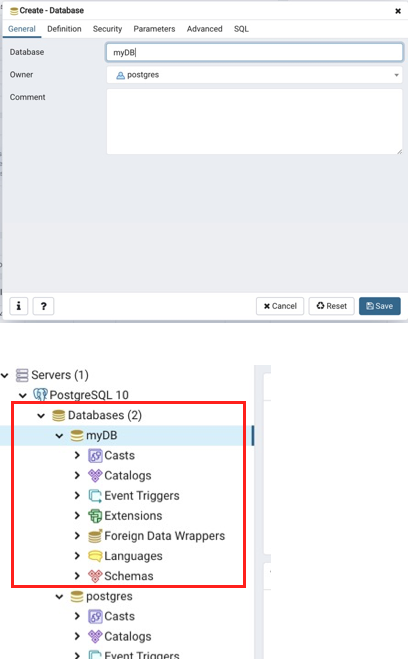
You have created a local database that you can use while developing your project.
What’s Next
Please proceed to Step 4: Create Project in IntelliJ.