Step 7: Connect IntelliJ Project to Local PostgreSQL Instance#
Add PostgreSQL Maven Dependency#
You must update the pom.xml file to include the Maven dependency for PostgreSQL:
<dependency>
    <groupId>org.postgresql</groupId>
    <artifactId>postgresql</artifactId>
    <version>42.2.27</version>
</dependency>
Add PostgreSQL to IntelliJ#
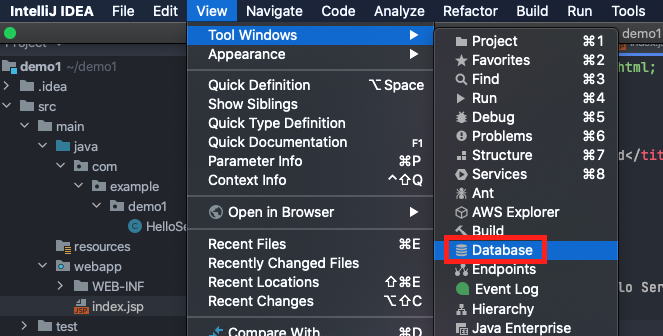
To connect the project to the local instance of PostgreSQL, open the Database view:
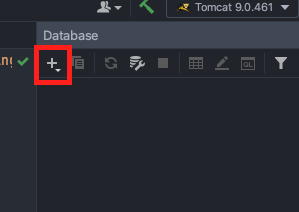
Select ‘New’:
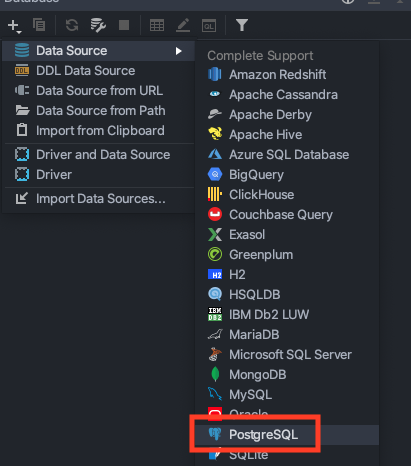
Select ‘PostgreSQL’:
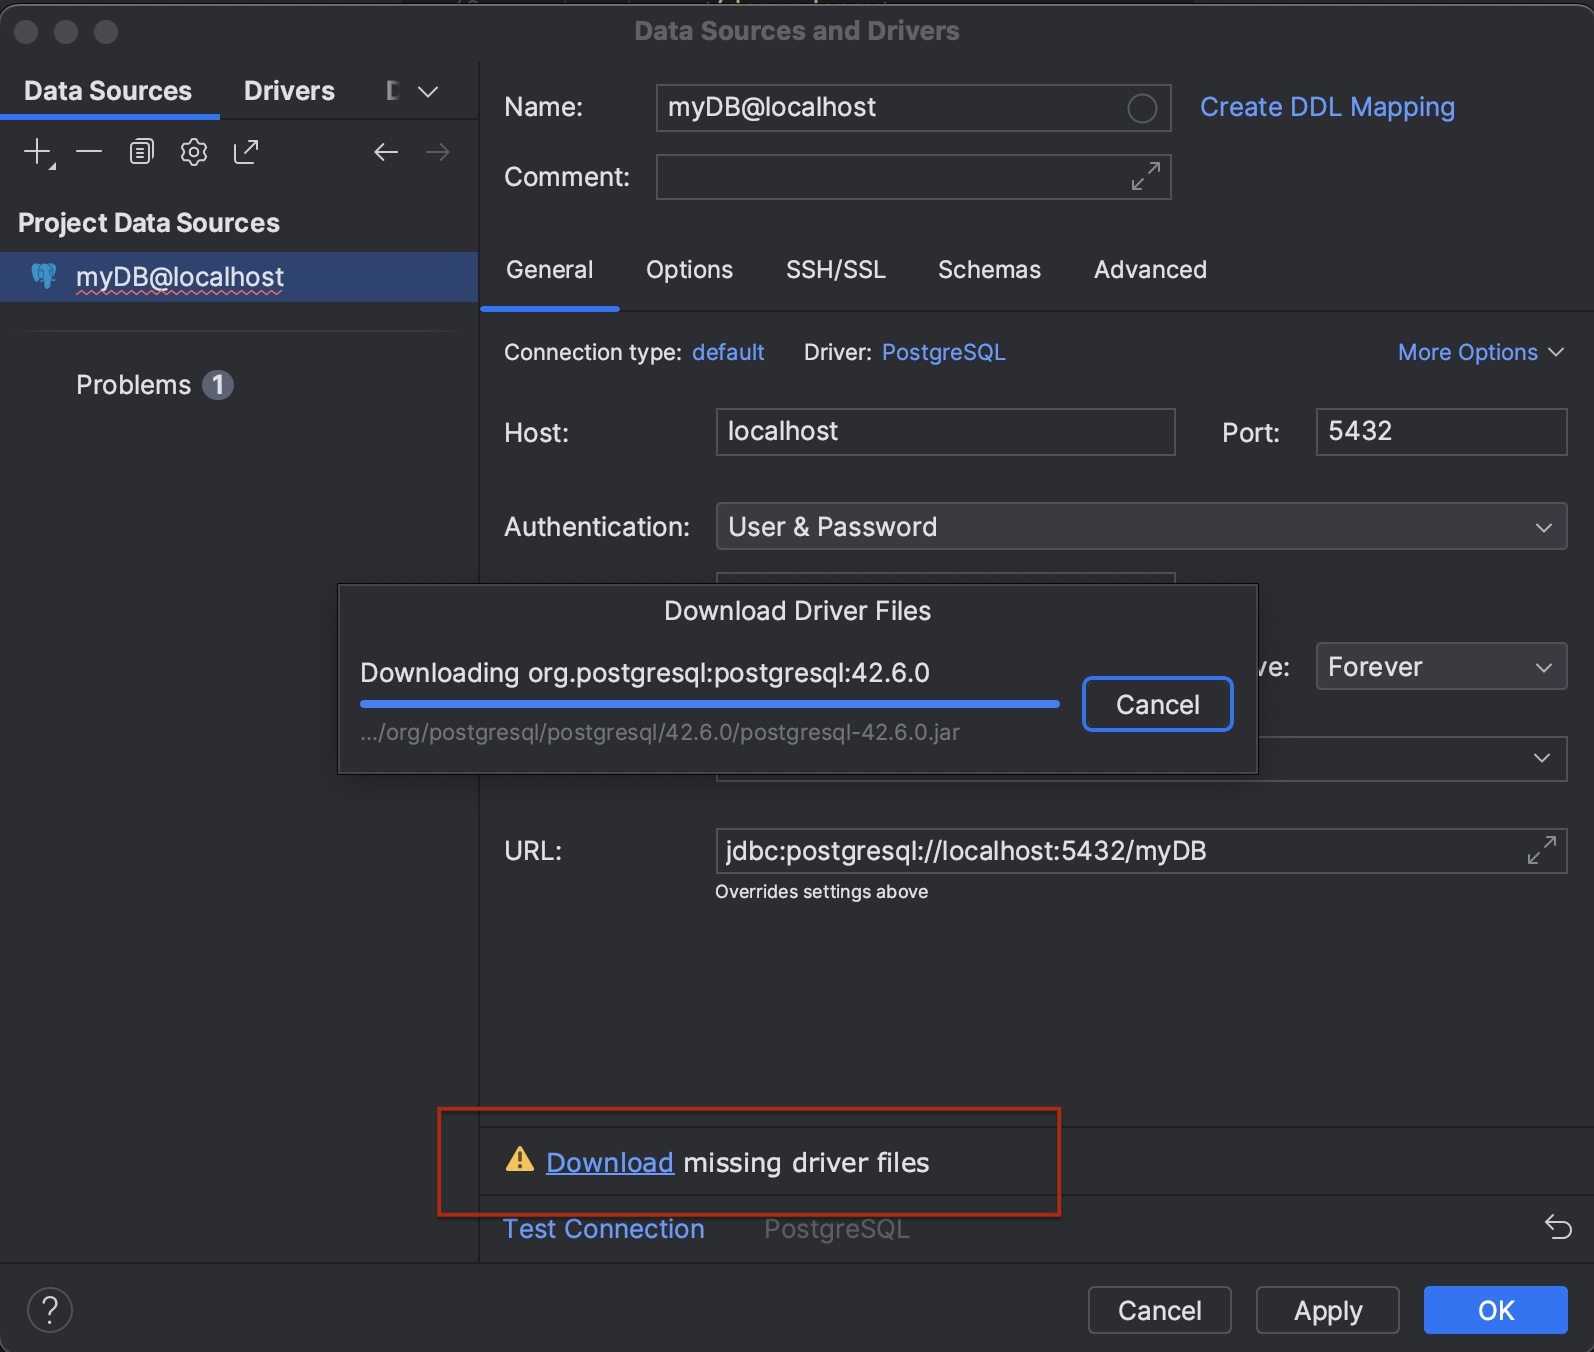
Enter the details of your local PostgreSQL instance:
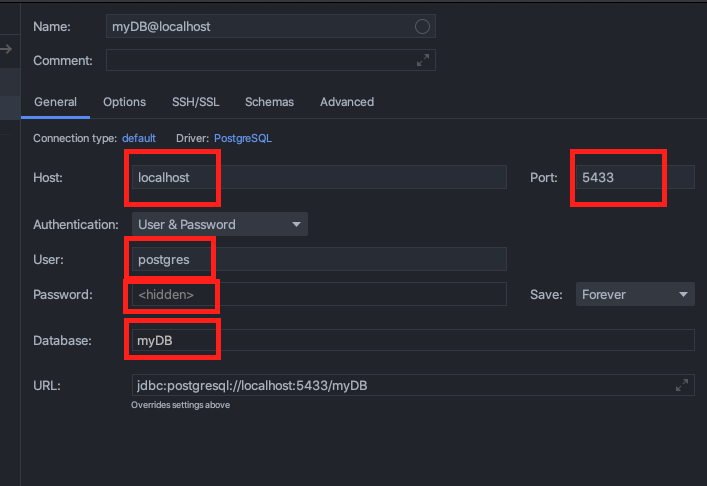
Check whether the postgres driver is installed, otherwise install it.
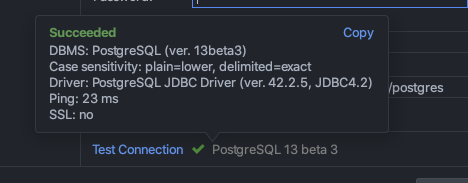
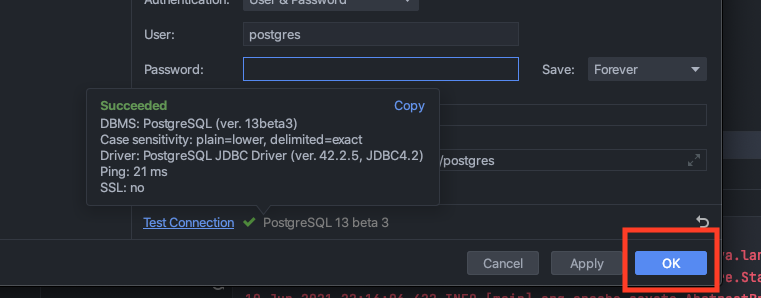
Select ‘Test Connection’ to test the details you entered are correct:
Select ‘OK’:
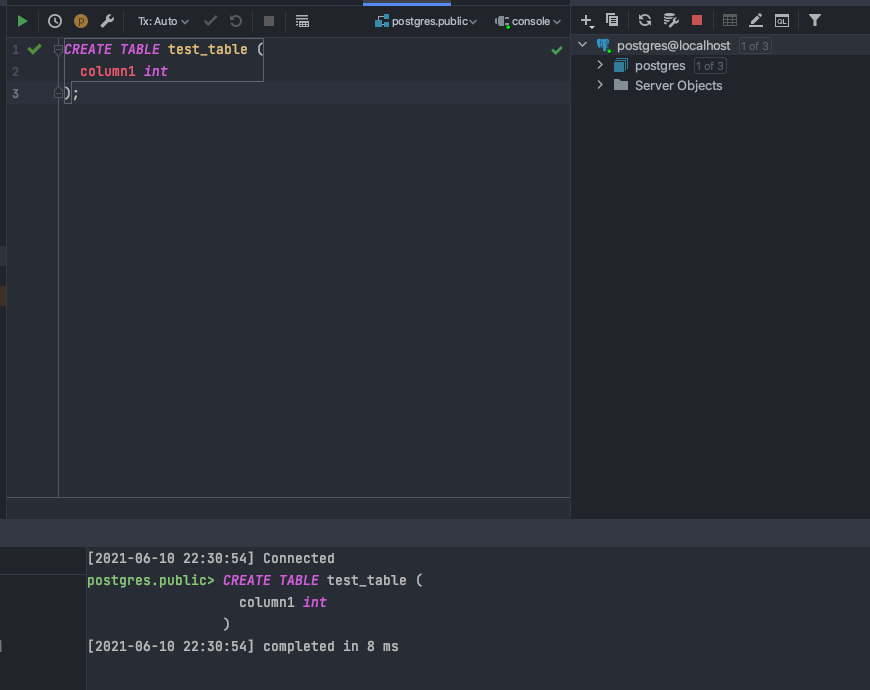
The console will open. Run an SQL query to make sure the database has been connected successfully. Enter any query and select ‘Run’:
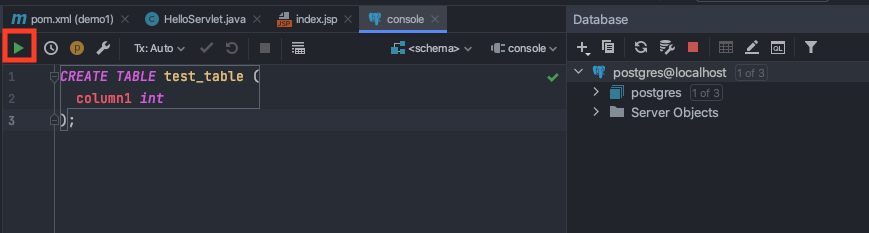
If successful, there will be a tick next to the SQL query, and it will display the query in the console:
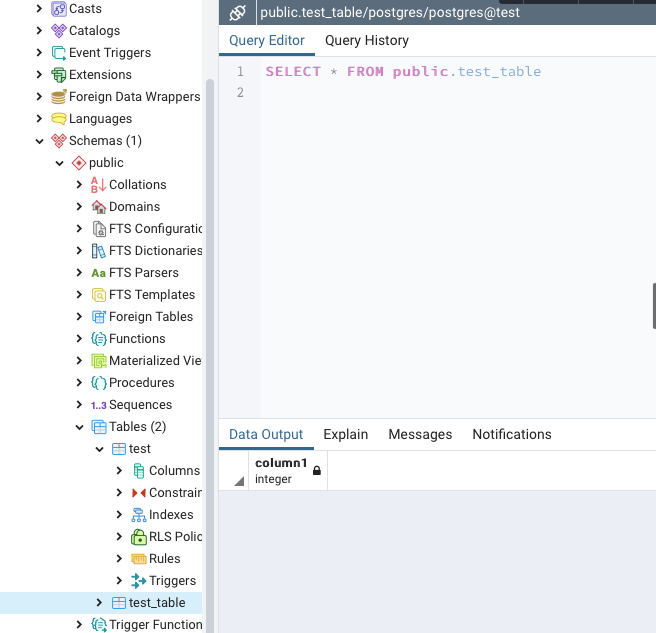
The newly created table should be viewable in pgAdmin:
What’s Next
The next step is to setup Docker and then deploy the application to Render. We recommend you deploy a sample application on Render as Part 1B assessment and start early on this. Proceed to Step 8: Setup Docker for Java Application.